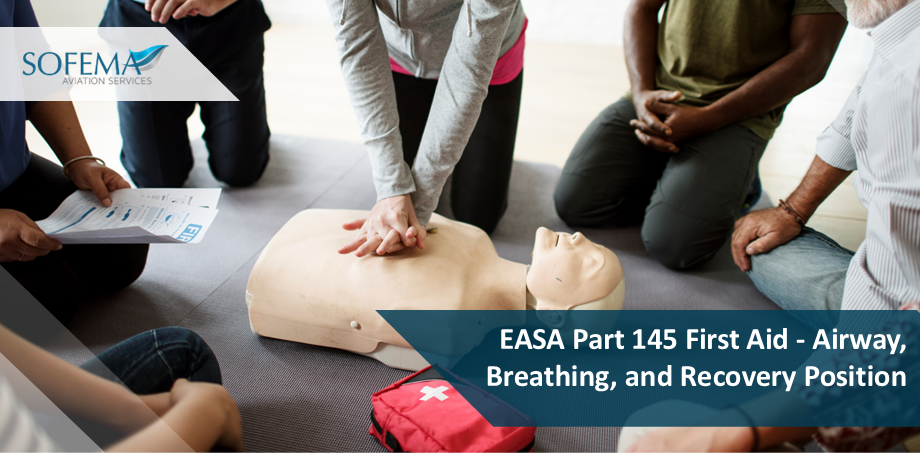
Sofema Aviation Services looks at how to open the airway, check breathing, and place the person in the recovery position, both alone and with a helper.
Airway: How to Open it
Primary Option (adult & child): Head-tilt / chin-lift
- Kneel by the head. One hand on the forehead, gently tilt the head back.
- Two fingertips under the bony part of the chin; lift the chin upward.
- Look in the mouth. If you see a loose, easily reachable object, scoop it out with two fingers. Don’t blindly sweep.
If you suspect neck/spine injury (fall, strike, road incident): Modified jaw-thrust
- Place your hands on either side of the jaw angles.
- Press the jaw upward to bring the lower teeth forward. Aim to open the airway without tipping the head back.
- If jaw-thrust fails to open the airway and you can’t ventilate, use the minimum head tilt needed to get air moving-airway beats perfect immobilisation.
Dentures: Leave them in if stable (they help seal). Remove if loose/obstructing.
Breathing: Check Within 10 Seconds
- Look for chest/abdomen rise and fall.
- Listen for breath sounds at the mouth/nose.
- Feel for air on your cheek.
- Decide quickly:
-
- Normal breathing present → go to Recovery Position.
- Not breathing / only gasping (agonal) → call 112 and start CPR/AED.
Tips
- Agonal gasps are slow, irregular, snorting “fish-like” attempts-treat as not breathing.
- In noisy areas (ramp/hangar), focus on the visual chest rise and hand on the upper abdomen to feel movement.
- Recheck breathing every minute in the recovery position.
Recovery Position
Goal: Keep the airway open, allow fluids to drain, and protect the neck/spine as best as possible.
When You are Alone:
- Arm & hand setup (nearest arm): Place the nearest arm at a right angle to the body, elbow bent, palm up.
- Far hand to cheek: Bring the far arm across the chest and place the back of that hand against the nearest cheek. Hold it there.
- Knee up: Lift the far knee so the hip and knee are bent.
- Roll toward you: Pull the bent knee toward you to roll the person onto their side. Keep the hand pressed to the cheek (this helps maintain head tilt).
- Airway: Gently tilt the head back just enough to keep the airway open. Open the mouth slightly so fluids can drain.
- Positioning: Top leg stays bent at right angles; bottom arm stays out to prevent rolling onto the front.
- Monitor: Re-check breathing every minute. If vomiting occurs, adjust the mouth downwards to drain.
Pregnancy (>20 weeks): Prefer left-side recovery (reduces pressure on major vessels). If the right side is unavoidable, switch to the left when safe.
Infants: Hold in a side-lying or “recovery-style” position with the head slightly lower than the body to allow drainage. Support the head and neck in a neutral position.
When You Have Help:
Two-person “en-bloc” roll (better for suspected spinal injury):
- Person A (at the head): Kneels at the head, places hands on either side to maintain manual in-line stabilisation (MILS)-ears, shoulders, hips kept in one line. Gives commands.
- Person B (at the hips/shoulders): Arranges the near arm (right angle), far hand to cheek, far knee up.
- On Person A’s count (“ready to roll-shoulders, hips, knees”), roll as one unit toward the rescuer, avoiding twisting.
- Person A keeps the head aligned throughout; once on the side, adjusts the jaw to keep the airway open (minimal necessary head tilt).
- Recheck breathing; maintain the position with padding (jacket under head/neck, behind back) to keep stable.
Protecting the neck & spine without pulling
- Use MILS: hands to the sides of the head, align nose–sternum–navel.
- Prefer the jaw-thrust to open the airway; add the smallest head tilt that works if needed.
- For the roll, move head–shoulders–hips together (“en-bloc”). Avoid grabbing and yanking the head or neck.
- If you are alone and suspect spinal injury but must place in recovery (vomit, airway fluids), do a careful single-rescuer roll: hand on hip and shoulder, keep the head aligned with the torso as you roll.
Common Challenges & How to Handle Them
Vomit/fluids/bleeding in the mouth
- Priority: drain and protect the airway. Turn to the side quickly (even with suspected spinal injury-airway comes first). Wipe away visible material. Don’t push debris deeper.
Obesity, tight space, or heavy clothing/PPE
- Use clothing as handles (hip waistband, belt area) rather than limbs.
- Clear space first (toolboxes, bags).
- Ask bystanders to help-assign simple roles (“You-hold the head still; You-raise the knee; I’ll pull the knee toward me on my count”).
Confined or hazardous areas (apron, GSE lanes, fuel bay)
- Danger first: if there’s vehicle movement, fuel vapour, live electrics, move the casualty only as far as needed to a safer spot, then reassess.
- Use high-vis, cones, or a spotter to create a safety bubble.
Dentures, facial hair, masks
- Stable dentures help seal the mouth-leave in. Remove if loose.
- If using a barrier device, ensure a good seal around facial hair; consider mouth-to-nose if needed.
Seizure post-ictal phase
- After convulsions stop, check breathing and place the patient in the recovery position to aid drainage and protect the airway. Pad under the head. Do not force anything into the mouth.
Hypothermia or wet/cold ramp
- Once in recovery, insulate from below (jacket/blanket under) and above. Avoid over-tilting the head in stiff/cold necks.
Agonal breathing confusion
- If breaths are irregular, noisy, and infrequent, treat as not breathing → 112 + CPR/AED.
Best Practices (What Success Looks Like)
- Time box the breathing check: decide within 10 seconds.
- Say what you do: “Opening the airway… I see chest rise… normal breathing present.” This keeps helpers aligned.
- Use minimal force: lift bony chin, not the soft tissues.
- Reassess continuously: recovery position is not the end-keep checking breathing and responsiveness.
- Document and hand over: when responders arrive, report: “Found unresponsive, breathing normal, placed in recovery at [time], rechecked every minute; suspected fall from height—neck protected with MILS during roll.”
Quick Solo Decision Flow (For Your Interactive Pauses)
- Unresponsive? → shout/tap → no response.
- Open airway (head-tilt/chin-lift; jaw-thrust if spinal concern).
- Check breathing (≤10 s) → normal vs. not/agonal.
- Not/agonal → 112 + CPR/AED.
- Normal → Recovery position (left side if pregnant), recheck every minute.
Team Roles for the Helper Scenario (Simple Script)
- Leader at head: “I have the head and airway. On my count, we roll as one. Ready-shoulders, hips, knees-roll.”
- Second rescuer: Sets arm, hand-to-cheek, knee up; performs the pull on the knee; stabilises the final posture; monitors breathing every minute.
Next Steps
Sofema Aviation Services (SAS) provides the following training as a Classroom or Webinar – First Aid in the Part-145 Workplace (Base and Line) – 2 Days. For details, please see our websites or email [email protected].
Tags:
EASA, SAS blogs, AviationSafety, AviationTraining, HumanFactors, Part145, AircraftMaintenance, AviationMaintenance, SafetyFirst, FirstAidTraining, WorkplaceSafety, EmergencyResponse